Guide · Disassembly
10 IKEA Disassembly Mistakes That Can Ruin Your Furniture
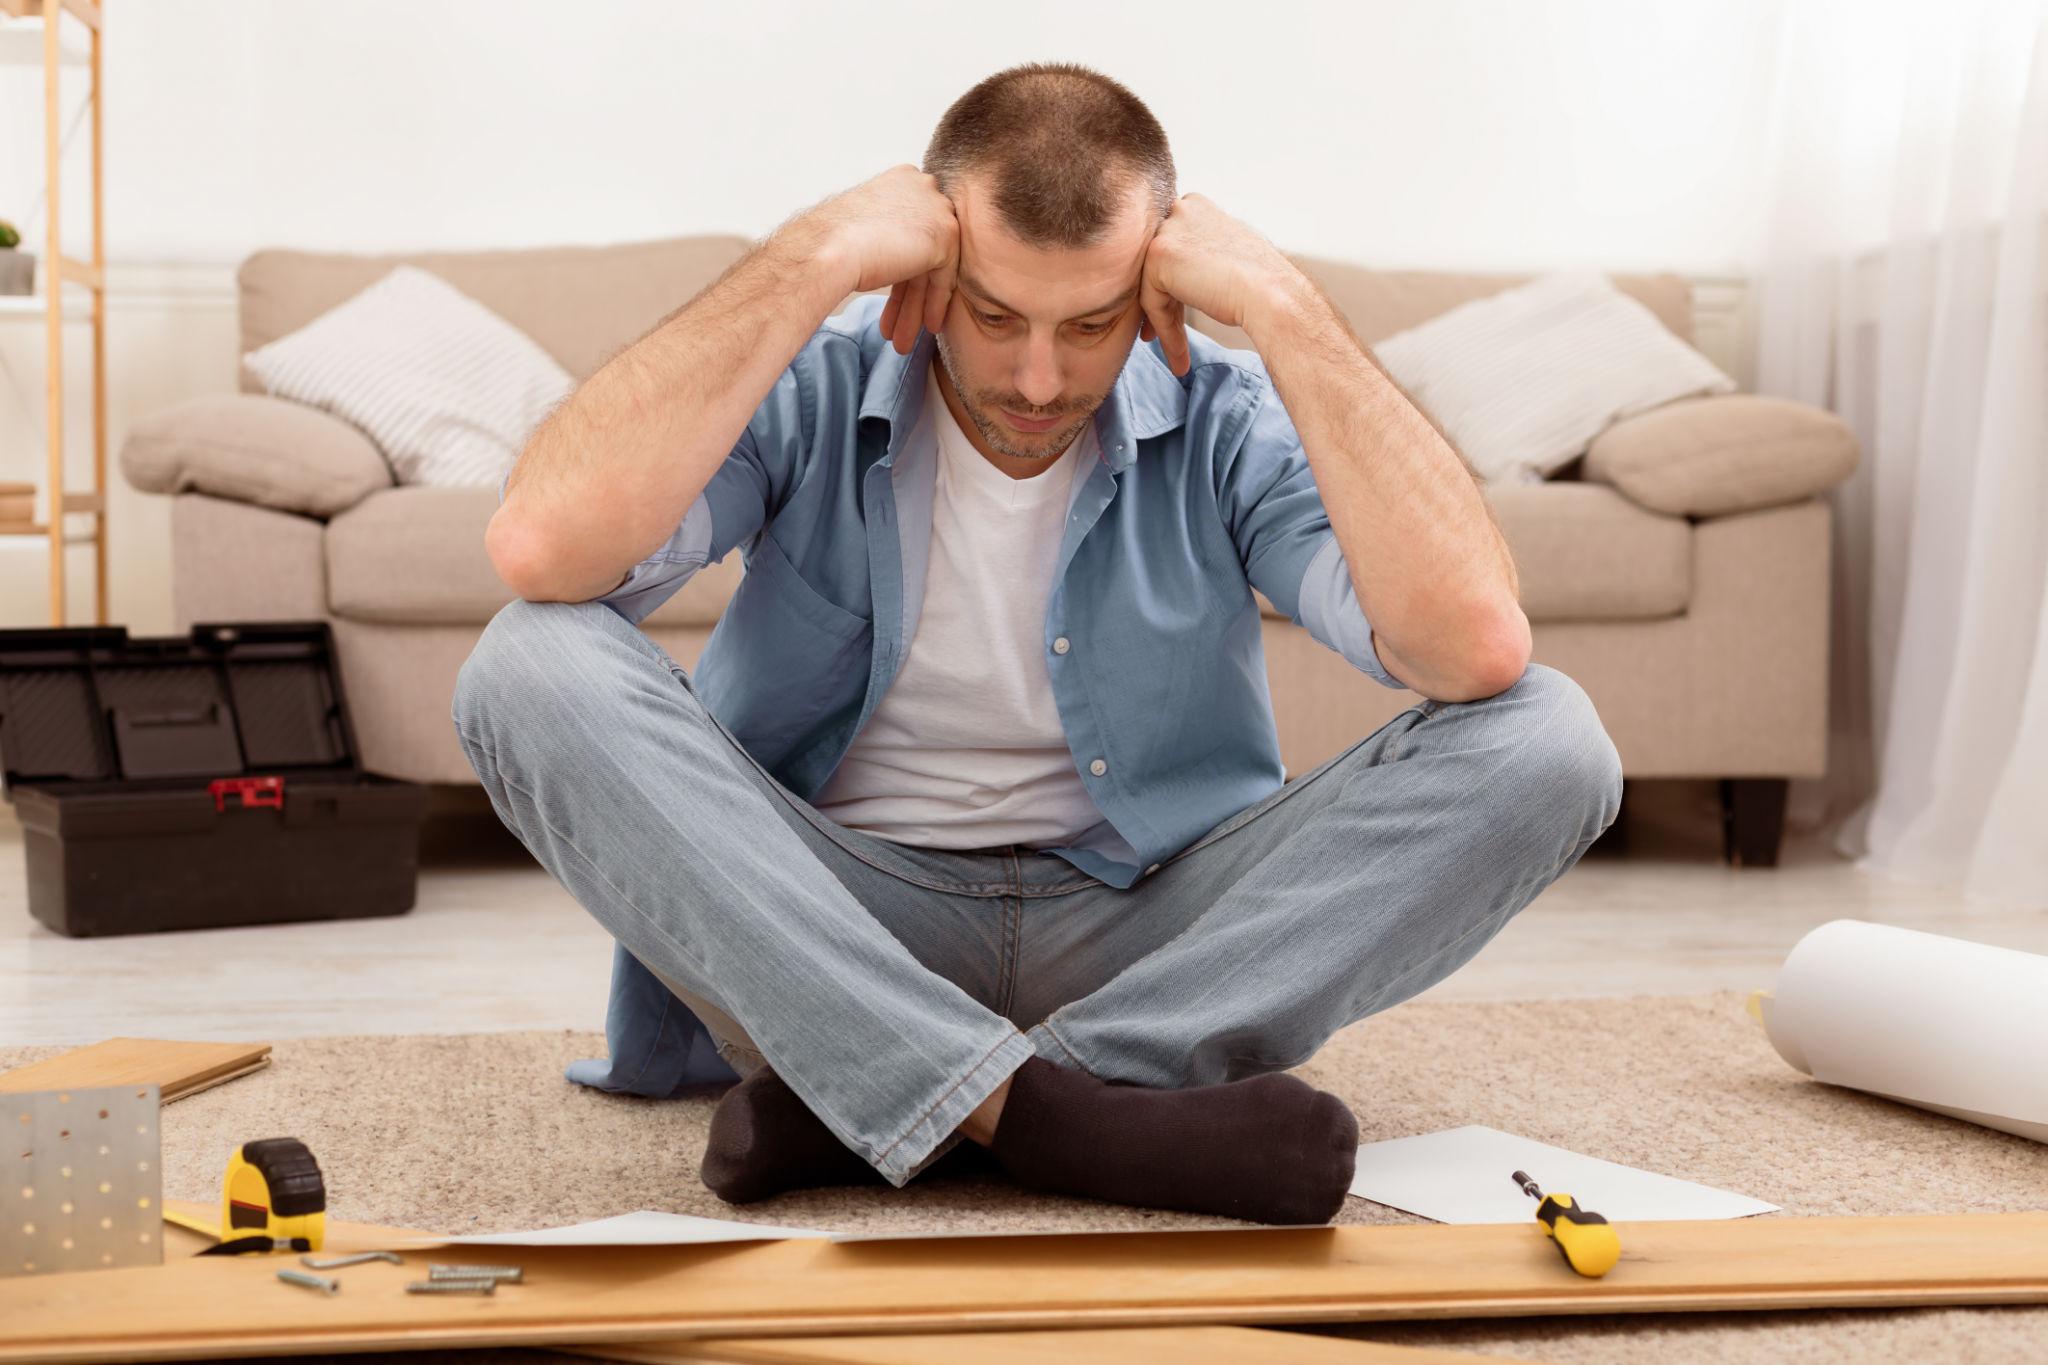
8 min read · Real-world assembly experience
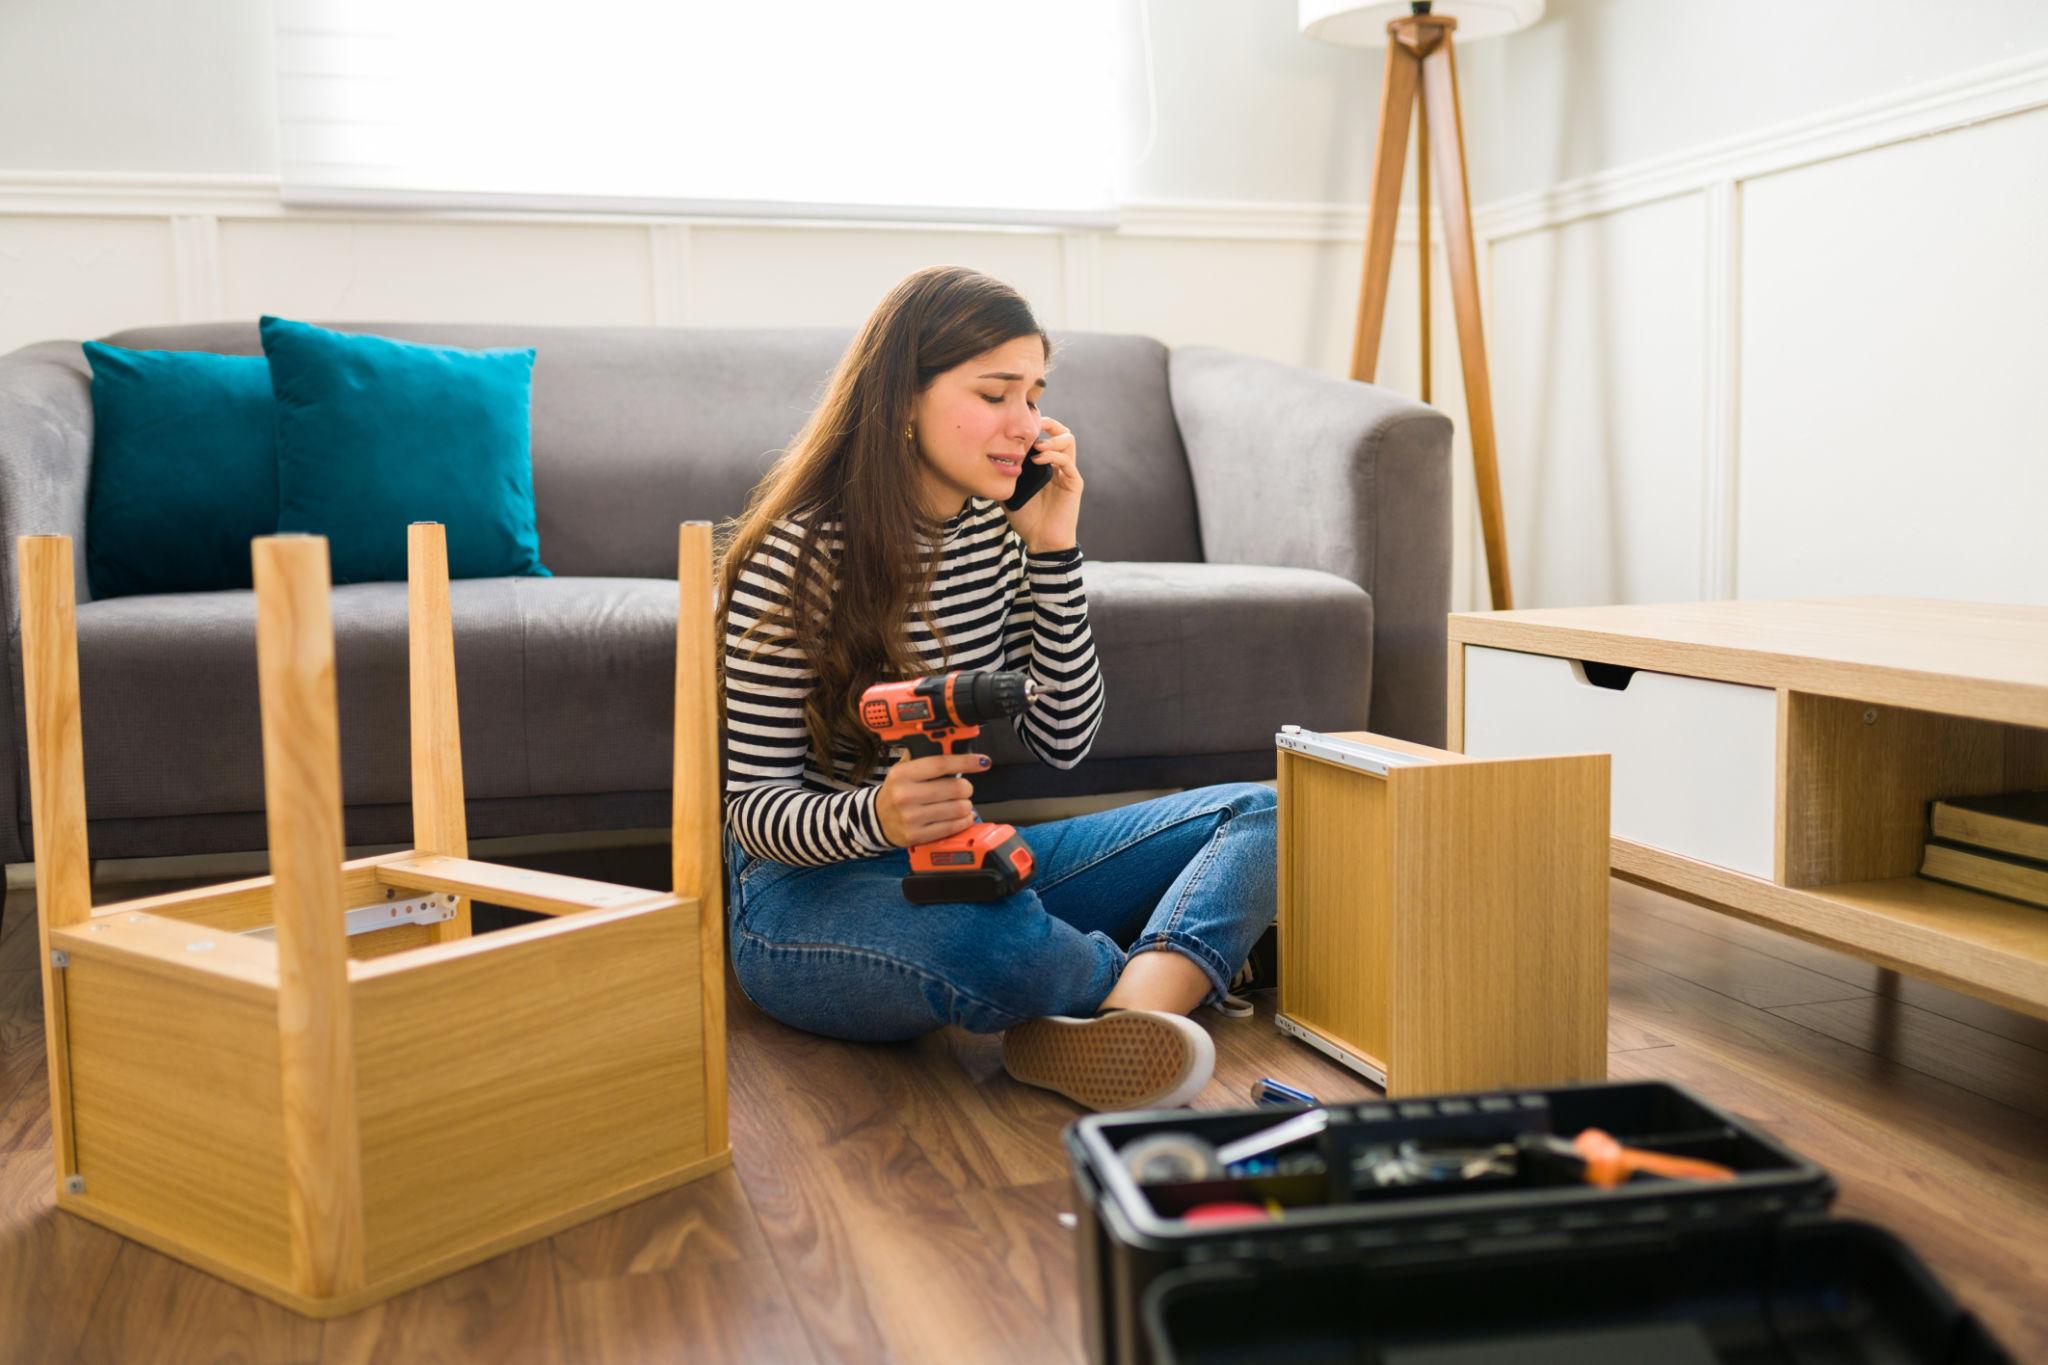
Taking IKEA furniture apart sounds like the easy part. You already built it once — how hard can it be to undo? Harder than you think. Cam locks strip. MDF chips at the first pry. Back panels that went in fine become impossible to remove without damage. Screw holes that held tight on assembly crumble on the second pass.
Most guides cover how to assemble IKEA furniture. Almost none explain how to take it apart without destroying it. This is that guide.
In this guide
- 1.Forcing cam locks the wrong way
- 2.Using power tools to remove screws
- 3.Treating MDF like real wood
- 4.Not supporting panels while removing fasteners
- 5.Taking apart beds without a plan
- 6.Not reversing the assembly order
- 7.Mixing up hardware
- 8.Trying to remove nailed back panels
- 9.Rushing the first step
- 10.Expecting it to go back together perfectly
Before you start
Know your exact assembly time before you commit your Saturday.
FlatPackTime tracks real build times from actual buyers — not the estimate on the box.
Look up your IKEA product →1Forcing Cam Locks the Wrong Way
Cam lock being turned carefully inside IKEA particle board furniture
Cam locks — the round disc fasteners that hold most IKEA frames together — only release in one direction. If you turn them the wrong way, they tighten. If you force them, you strip the internal mechanism or crack the particle board around the insert. This is where people get in trouble.
The cam lock slot will turn about 180 degrees from locked to unlocked. You will feel a distinct reduction in resistance when it releases. If you are grinding against hard resistance, you are turning the wrong way. Stop. Reverse direction.
Once a cam lock is stripped, it cannot hold tension again. You will need to replace it — and that usually means drilling out the insert and re-fitting, which is not something most people do cleanly on MDF.
Quick fix
Turn the cam lock slowly in the opposite direction to what you tried first. Feel for the release point — it is unmistakable when you find it. Never force it. See our full guide to IKEA cam locks.
2Using Power Tools to Remove Screws
A cordless drill that saves you 20 minutes on assembly will destroy a screw hole in two seconds on disassembly. MDF and particle board do not forgive stripped holes. Once the material around a screw is torn out, there is nothing for the screw to bite into on reassembly. The joint becomes permanently weak.
Power drills have no feel. They spin at full torque right up until the screw head strips — and then they keep spinning, chewing out everything around it. A hand screwdriver gives you resistance feedback. When the screw starts to move, you feel it. When it gets sticky, you slow down.
Quick fix
Use a hand screwdriver for all disassembly. If you must use a drill, set it to the absolute lowest torque setting and stop the moment you feel the screw begin to move freely.
3Treating MDF Like Real Wood
IKEA furniture looks like wood. It is mostly not. Most panels are MDF (medium-density fiberboard), particle board, or HDF — materials made from compressed wood fibers and resin. They are strong when whole and assembled, but they have a critical weakness: edges and exposed surfaces chip, dent, and crumble under stress that real wood would shrug off.
Prying against an MDF edge with a flathead screwdriver will leave permanent damage. Dropping a panel on a corner will crush the material. Once this chips, it does not magically go back. The cosmetic foil coating on the outside of most IKEA panels peels and does not stick again after damage.
This matters most during disassembly because you are handling panels that are no longer supported by the assembled frame. They flex. They bend. And bending MDF — especially at screw holes and cam lock inserts — cracks the material around the fastener.
Quick fix
Handle every panel like it is made of glass once the frame is open. Lay panels flat on a blanket or carpet — never lean them against walls unsupported. Avoid prying against any edge. Read more: why IKEA furniture breaks when you move it.
4Not Supporting Panels While Removing Fasteners
Person supporting a large furniture side panel while carefully removing screws
When you remove the last fastener from a panel, it is unsupported. If it drops even a few inches — or flexes because you were not holding it — it can crack at the screw holes, damage a cam lock insert, or chip an edge on whatever it falls against.
This is especially common with side panels on wardrobes, shelving units, and bed frames. The piece looks stable until it is not. The moment the last cam lock releases, gravity does the rest.
Quick fix
Have a second person hold every large panel before you remove the final fastener. If working alone, position yourself so you can brace the panel against your body before it is free. Never remove the last fastener on a tall or heavy panel from a ladder or awkward position.
Before you start
Know your exact assembly time before you commit your Saturday.
FlatPackTime tracks real build times from actual buyers — not the estimate on the box.
Look up your IKEA product →5Taking Apart Beds Without a Plan
IKEA bed frame being carefully disassembled with slats removed and parts organized on the floor
MALM, HEMNES, and other IKEA bed frames seem straightforward until you start pulling pieces apart randomly. Slats scatter. The center support beam falls. Side rails collapse inward. One person cannot hold the headboard upright and remove the side rail bolts at the same time.
Bed disassembly done out of order almost always results in something getting pinched, bent, or dropped. This is one of those mistakes you only need to make once.
Quick fix
Remove the mattress, then remove all slats and bundle them together. Remove the center support beam if present. Then work from the foot of the bed: remove foot rail first, then side rails, then the headboard last. Having one person stabilize the headboard while the other removes side rail bolts is worth asking for help.
6Not Reversing the Assembly Order
IKEA instruction manual open to an early step while someone works backward through disassembly
IKEA builds are sequence-dependent. Step 3 usually has to happen before step 7 because the structure of what you build in step 3 is what makes step 7 physically possible. The same logic applies in reverse.
People who disassemble IKEA furniture in the wrong order create structural problems — a panel that cannot be removed because the piece it connects to is still load-bearing, a joint that will not release because the tension from an adjacent piece is keeping it seated.
Quick fix
Find the original IKEA manual online at IKEA's website or Google the product name with "manual PDF." Work backward from the last step. If you do not have the manual, go slow and look for what is still under tension before you try to force anything free.
7Mixing Up Hardware
Labeled ziplock bags containing IKEA screws, dowels, cam locks, and brackets organized by furniture section
IKEA uses a range of screws, cam locks, dowels, and brackets — and different parts of the same piece often use hardware that looks identical but is not. A bolt that is 2mm shorter than the right one will not fully seat. A cam lock from the wrong section may not align with the insert hole on reassembly.
This does not matter much when you are assembling from scratch with labeled bags from the box. It matters enormously when you are reassembling after a move with a pile of mixed hardware in a bag.
Quick fix
As you disassemble, keep hardware from each section together. Use small zip-lock bags and write the section or step number on each one with a marker. Keep the manual with the bags. See the full IKEA moving disassembly checklist.
8Trying to Remove Nailed Back Panels
Back panels on IKEA desks, dressers, BILLY bookcases, and KALLAX units are almost always thin MDF or HDF. They are designed to be nailed in once and left there. The material around each nail hole is not thick enough to survive a claw extraction cleanly.
Assume you only get one clean shot with nailed back panels. Once they are in, trying to pull them is a gamble. The best you can do is minimize damage — use a pry bar with a wide, flat face and a block of wood to distribute the load — but "no damage" is rarely the outcome.
Quick fix
Dry-fit the back panel before nailing anything. Confirm orientation — check which side is the finished face, which openings align with the shelf cutouts, and whether pre-drilled holes line up. Then nail. More detail: the IKEA back panel mistake that is hard to undo.
9Rushing the First Step
The earliest mistake is the most expensive. Every step that follows is built on what you did in step 1. A panel inserted backwards in step 1 means disassembling everything you built in steps 2 through 12 to fix it. A cam lock installed facing the wrong direction means cutting the dowel that is now blocking removal.
Slow here is faster later. This is not an inspirational phrase — it is a mechanical truth about how IKEA builds work. The first step sets the orientation and reference points for everything that follows.
Quick fix
Before you tighten anything in step 1, check the panel orientation against the diagram twice. Look for printed side vs. unprinted side, pre-drilled hole positions, and the direction of any grooves or slots. Do not tighten until you are certain.
10Expecting It to Go Back Together Perfectly
Some IKEA furniture is not designed to be assembled and disassembled repeatedly. The cam lock inserts are pressed into the wood once. The dowel holes are sized for one tight fit. The screw holes have one good pass in them before the material starts to give.
After a move, you will often find joints that feel slightly loose, cam locks that do not seat with the same tension, and drawer slides that need readjustment. This is not a sign you did something wrong. It is the nature of the material. Plan for it.
If a screw hole is stripped on reassembly, toothpick-and-glue fills are a real fix — not a joke. Push a few toothpicks into the hole with wood glue, let it dry, snap them off flush, and drive the screw in again. It holds.
Quick fix
Before you reassemble, inspect every cam lock insert and screw hole. Replace damaged fasteners rather than forcing them. Budget time for door and drawer realignment — they almost always need it after a move. Be realistic: a large wardrobe or dresser moved twice may never be quite as rigid as it was.
Common questions
Can you disassemble IKEA furniture without damaging it?
Sometimes. Bolt-together joints can usually be undone cleanly if you take them apart slowly and in reverse assembly order. The biggest risks are cam locks, MDF screw holes, and nailed back panels — which rarely survive removal.
Can IKEA cam locks be reused?
Yes, if released properly. Turn slowly in the correct direction until you feel the click. A cam lock that is forced or stripped will not hold securely on reassembly.
Why does IKEA furniture break when moved?
The materials — MDF, particle board, HDF — are strong when assembled but vulnerable at edges, screw holes, and back panels. Disassembly puts direct stress on those exact points. Read more in our guide: why IKEA furniture breaks when you move it.
Should you use a drill to take apart IKEA furniture?
No. Use hand tools. Drills strip MDF screw holes faster than you expect. Once the hole is stripped, there is little you can do short of a toothpick-glue fill.
Related guides
Before you take it apart — or build it again
Check the real assembly time for your specific product. Real data from actual buyers, not box estimates.
Find your exact IKEA assembly time →