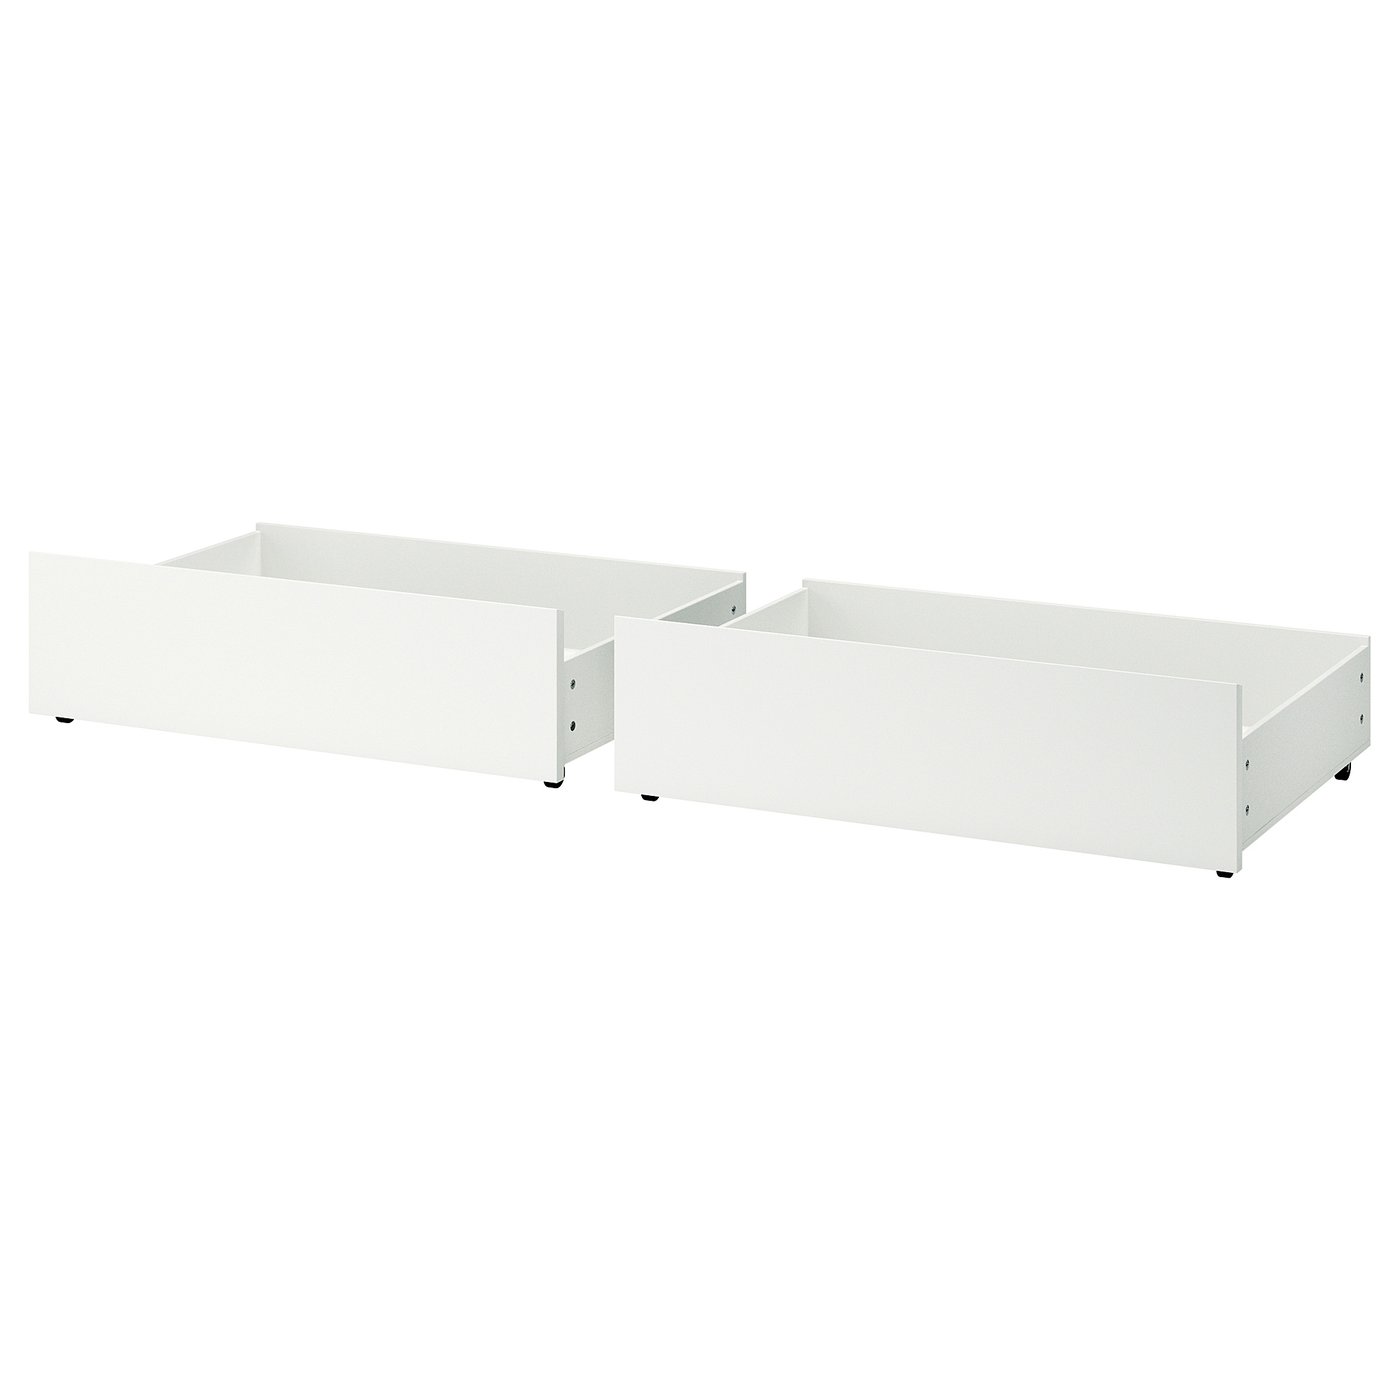
MALM Storage bed, white, Queen
IKEA

Before you start: the time below comes from real buyers who logged this exact build. First-timers typically add 20–30% to the average.
The MALM Storage bed, white, Queen averages about 1 hour and 45 minutes to assemble, based on 1 real buyer who logged their build. It's manageable for most people — can be done solo. Size has a big impact: if this is a storage or large-format bed, budget closer to the high end.
All times on this page come from real buyers who logged their actual build time after finishing — not IKEA estimates.
Like most IKEA furniture, the real time is longer than what the instruction booklet implies. The 1h 45m average here comes from buyers who logged their actual build — not the manufacturer's estimate.
A moderately demanding build that benefits from two people on some steps. Experienced builders can handle it solo, but it's slower alone.
Planning to move this bed frame?
IKEA bed frames can be tricky to take apart without bending hardware or losing slats. Disassemble in reverse assembly order and label every piece — it saves hours on the other end.
Read: 10 IKEA disassembly mistakes to avoid →Why this build takes about 1h 45m
- —Frame squareness check before final tightening prevents long-term wobble
- —Side rail and slat installation follows a specific sequence — out of order adds significant time
- —Large pieces need careful maneuvering in tight spaces, especially in smaller bedrooms
First-timer estimate: 2h 11m–2h 32m — budget this before you start
Just assembled this? Log your time
Log your assembly time
How long did it take you? Help future buyers plan.
Community reviews (1)
💬 Estimated from YouTube tutorials (14 videos)
New to IKEA builds?
Before you open the box, read our IKEA assembly tips to avoid backwards panels, stripped screws, drawer mistakes, and wasted time.
Related assembly times
For assemblers
Need cash? Get paid to assemble furniture.
People pay every day for help building desks, shelves, beds, dressers, and IKEA-style furniture. If you're handy, this can be a simple way to make extra money on your own schedule.
Start earning on Taskrabbit →FlatPackTime may earn a commission if you sign up through this link.
🛒 Tools you'll need
Speed up your build — these are the most common tools IKEA assemblers reach for.
FlatPackTime earns a small commission on purchases — at no extra cost to you.
Don't want to spend about 1 hour and 45 minutes building the MALM Storage bed, white, Queen?
Get matched with a local assembler
Tell us a bit about your MALM Storage bed, white, Queen project and we'll connect you with someone nearby.
MALM Storage bed, white, Queen — Assembly Overview
Assembling a bed frame is one of the more involved furniture projects you'll tackle — and the MALM Storage bed, white, Queen is no exception. Based on 2 real buyers who logged their experience, expect the MALM Storage bed, white, Queen to take around 1 hour and 45 minutes to assemble, with a moderate difficulty rating. At queen size, the side panels are heavier and harder to position without a second person. Planning ahead makes the difference between a smooth build and a frustrating evening.
Why this build takes as long as it does
Storage bed frames take longer than standard frames because they require assembling the storage mechanism — drawers or hydraulic lift — as an integrated part of the bed structure, not an add-on. The drawer slides need to be level and aligned with each other, which means multiple test-and-adjust cycles. At queen size, the side panels are also significantly heavier and harder to maneuver solo.
⏱ Time Breakdown
Estimated split based on how real builds typically run
What usually slows people down
- !Installing drawer slides level — misalignment causes drawers to stick or sag
- !Maneuvering queen side rails alone — they're long, heavy, and awkward without a second person
- !Installing slats evenly — the spacing matters for mattress support and takes more time than expected
- !Repositioning the partially-assembled frame in a small room
🛠 How to Assemble It Faster
- 1Don't attach both side rails to the headboard before the footboard is ready. Do one rail end, get the footboard positioned, then complete the second. Alignment is much easier.
- 2Get a second person for just the side rail step on a queen — it's the one step that genuinely takes twice as long solo.
- 3Measure corner to corner (diagonal) before tightening any cam bolts fully — a skewed frame is hard to correct once hardware is set.
- 4Flip the mattress upside-down and use it as a padded work surface for headboard assembly. Better than cardboard.
Drawer Assembly Tip
Common mistake: Building drawers one at a time exactly as the manual shows can slow you down significantly. A better approach is to line up all the drawer pieces and work through one step across all of them before moving to the next — install slides on one side of every drawer, then flip and repeat. It's faster, more consistent, and easier to manage solo.
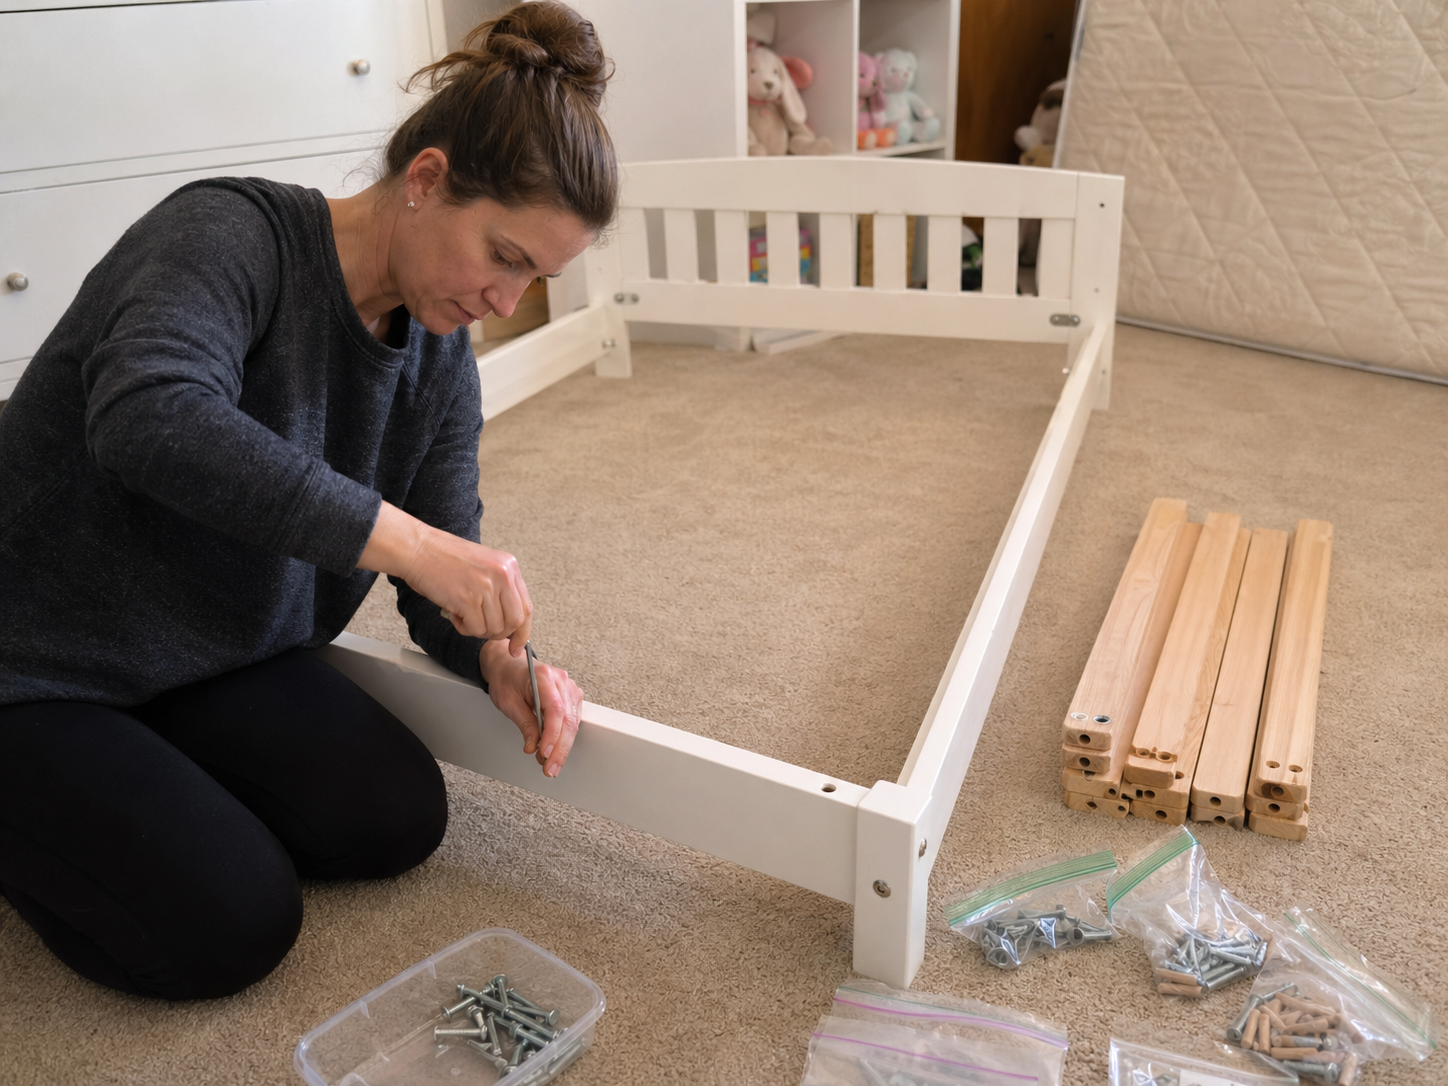
Step-by-Step Assembly Guide
- 1Unbox and sort all hardware into labeled groups — bolts, cam locks, dowels, and slats separately.
- 2Assemble the headboard first. Attach any support brackets or feet while it's flat and easy to access.
- 3Attach the side rails to the headboard using cam bolts. Hand-tighten only at this stage.
- 4Attach the footboard to the side rails. Check that the frame is square by measuring corner-to-corner.
- 5Fully tighten all cam bolts now that alignment is confirmed.
- 6Install the slat holders along the side rails, then lay the slats evenly across the frame.
- 7Anchor to the wall if required (storage beds and tall headboards). Test stability before adding a mattress.
🛒 Tools that make this build easier
Recommended based on this product type
FlatPackTime earns a small commission on purchases — at no extra cost to you.
Common mistakes to avoid
- ✕Attaching both side rails to the headboard before the footboard is ready — makes alignment much harder
- ✕Fully tightening one cam bolt before inserting the others — locks the panel at a slight angle
- ✕Installing slats before confirming the frame is square and level
- ✕Not anchoring tall headboard models — they shift and creak under pressure
Frequently Asked Questions
How long does the MALM Storage bed, white, Queen take to assemble?
Based on 2 real buyers who logged their build on FlatPackTime, the MALM Storage bed, white, Queen takes an average of 1 hour and 45 minutes to assemble. First-time assemblers typically take 20–40% longer than experienced builders, especially if they don't sort hardware before starting.
Can I assemble the MALM Storage bed, white, Queen alone?
Yes — the MALM Storage bed, white, Queen is rated moderate and most buyers complete it solo. Having a second person speeds things up, but it's not required for this build.
What tools do I need to assemble the MALM Storage bed, white, Queen?
IKEA includes an allen key with the MALM Storage bed, white, Queen, but an electric screwdriver is the single biggest time-saver. A rubber mallet helps seat dowels without marking the wood, and a bubble level catches alignment issues early.
Is the MALM Storage bed, white, Queen worth assembling yourself?
At IKEA's price point, self-assembly is usually the practical choice. The MALM Storage bed, white, Queen is rated moderate — manageable for most people with a bit of patience.
Does the MALM Storage bed, white, Queen need to be anchored to the wall?
Most standard bed frames don't require wall anchoring, but tall headboard models and storage beds benefit from it for stability. Check your specific instruction manual — any tip-over warning in the manual means wall anchoring is required.
How do I stop the MALM Storage bed, white, Queen from squeaking?
Squeaks on IKEA bed frames almost always come from loose cam bolts or wood-on-wood contact points. Fully re-tighten all hardware first. For persistent squeaks, apply a thin layer of clear candle wax to wooden surfaces that contact each other — it reduces friction without damaging the finish.
Compared to similar IKEA builds
Easier alternatives to consider
If you want less assembly time or complexity
If you prefer IKEA's design and price point, the original is still a solid choice — just budget the extra setup time.
What affects assembly time
Is this worth assembling yourself?
Yes — this is well within DIY range for most people. The main risk is the drawer slide or slat alignment taking longer than expected on your first attempt. Budget the time, have a rubber mallet ready, and don't rush the alignment steps. Professional assembly for a build like this isn't necessary unless you're genuinely short on time.
- ✓An afternoon free
- ✓An electric screwdriver
- ✓Basic IKEA experience
- ✕First IKEA build ever
- ✕No time to spare
- ✕Back or mobility issues